It installs into ~/Applications, clears the download quarantine, and leaves updates to the app's built-in updater.
Without Homebrew:
Download the latest m_capture.dmg from Releases and open it, then drag m_capture into ~/Applications — your home folder, not system-wide /Applications. It isn't notarized, so clear the quarantine in Terminal:
cd ~/Applications && xattr -dr com.apple.quarantine m_capture.appCopied
2
Launch it
Open ~/Applications and double-click m_capture — the menu-bar m. icon appears.
3
Grant Screen Recording
On your first capture, macOS asks for Screen Recording permission. Approve m_capture under System Settings → Privacy & Security → Screen Recording and relaunch.
How it works
From a hotkey to your clipboard in a few seconds
01
Press a hotkey
Press ⌃⇧S for a screenshot or ⌃⇧R to record — a dimmed selection overlay appears instantly, with no application to launch.
02
Drag a region
Drag to select any region, with a live size readout, or press Space for whole-screen mode. Fully aware of multi-monitor setups.
03
Annotate & deliver
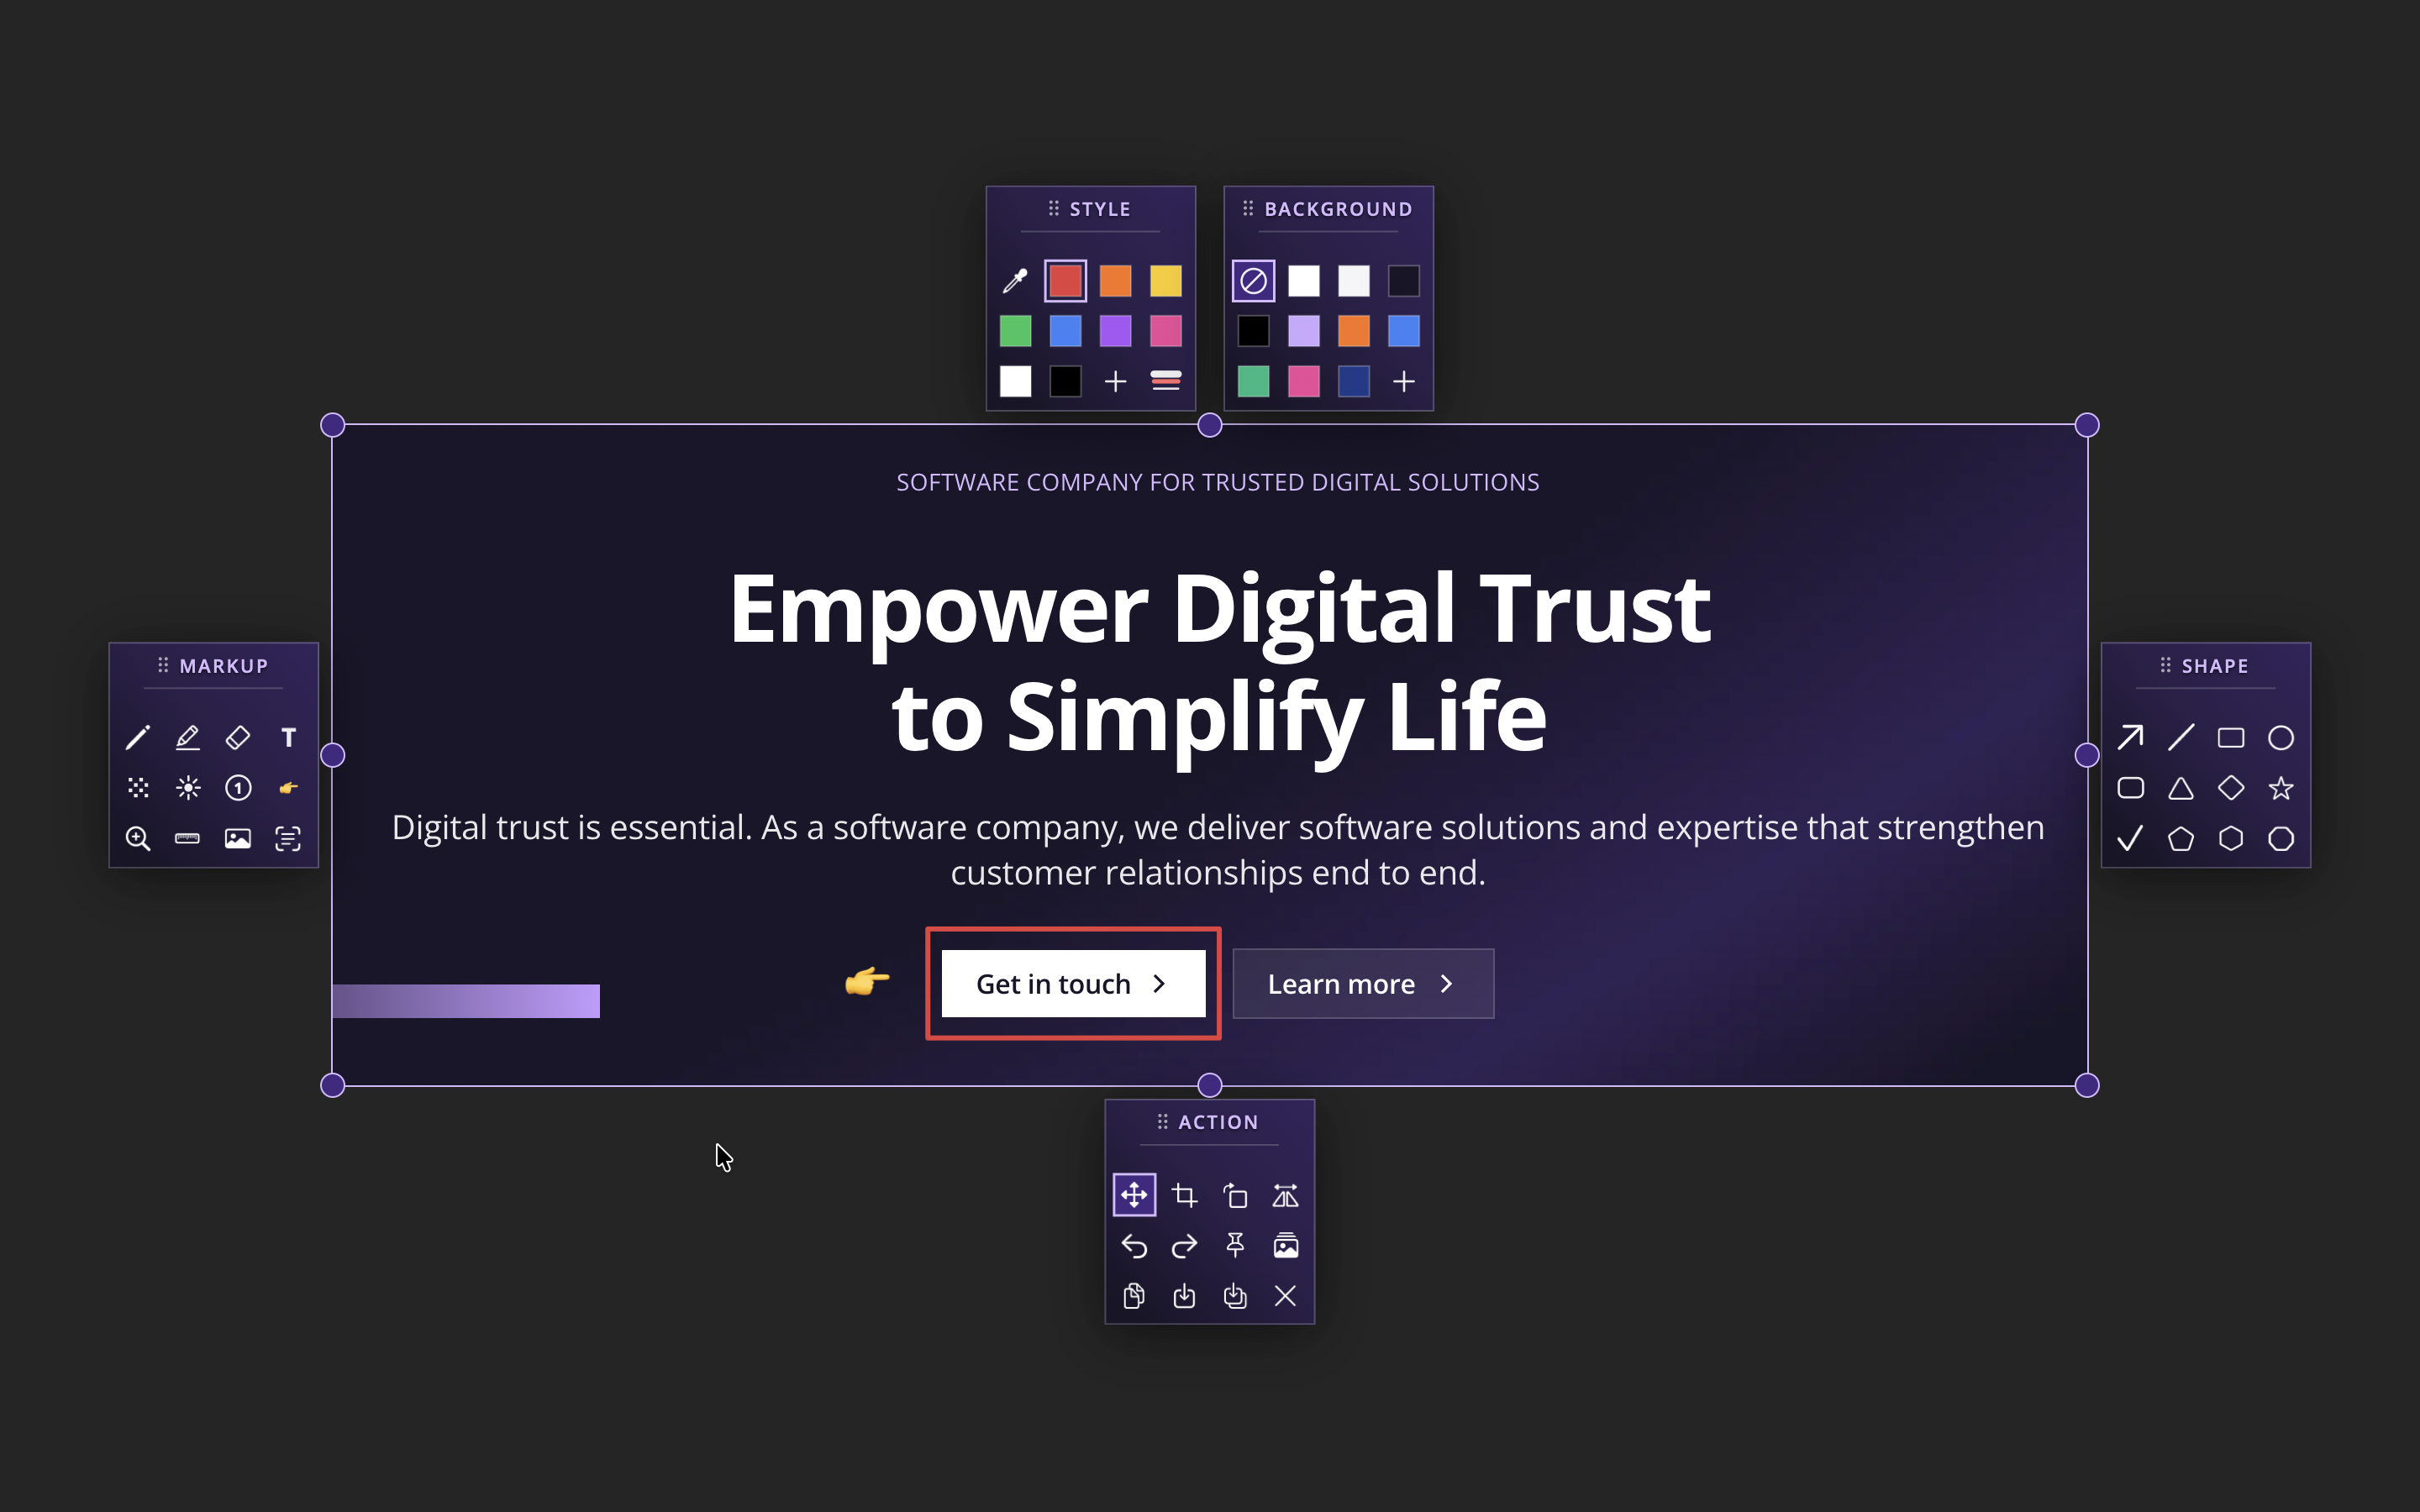
The in-place editor opens directly over your capture. Press ⌘C to copy or ⌘S to save.
Feedback
Have an idea for m_capture?
Missing a tool, a shortcut, or an export format? Share it with us — every suggestion is reviewed.
History lists only captures m_capture made, not every image in the save folder, and Settings groups the shortcuts and folds drawing into the Video tab.
Fixed a drawn shape occasionally missing from a copied image, resolved a rare relaunch crash, and cleaned up update-dialog text and full-screen crop controls.
Multi-colour text — mix colours, use ⌘A to select all, and recolour marks. Bigger, bolder annotations, a more responsive Esc key, and an instant crosshair.
Yes — m_capture is open source and MIT-licensed, free for anyone to use.
Which macOS versions are supported?
macOS 14 (Sonoma) and later. It lives in the menu bar, with an optional Dock icon for quick access.
Why does macOS block it on first launch?
It isn't notarized by Apple yet. Installing with Homebrew handles this for you. By hand, move it into the Applications folder in your home folder (~/Applications, not /Applications) and clear the quarantine flag from Terminal — see Get started above.
Where are my captures saved?
To your chosen folder (the Desktop by default) and the clipboard. Set the format and location in Settings.
Does it send my screenshots anywhere?
No. Everything stays on your Mac — no accounts, no cloud, no telemetry.
Can I change the keyboard shortcuts?
Yes — rebind the screenshot and record hotkeys under Settings → Shortcuts.